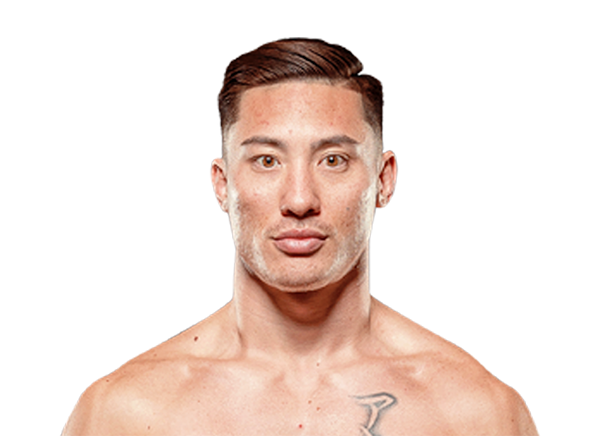
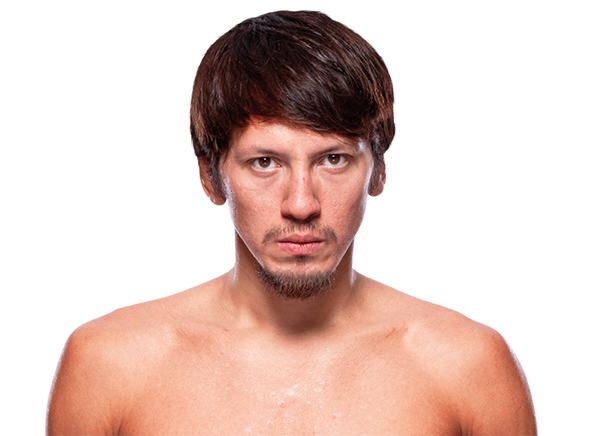
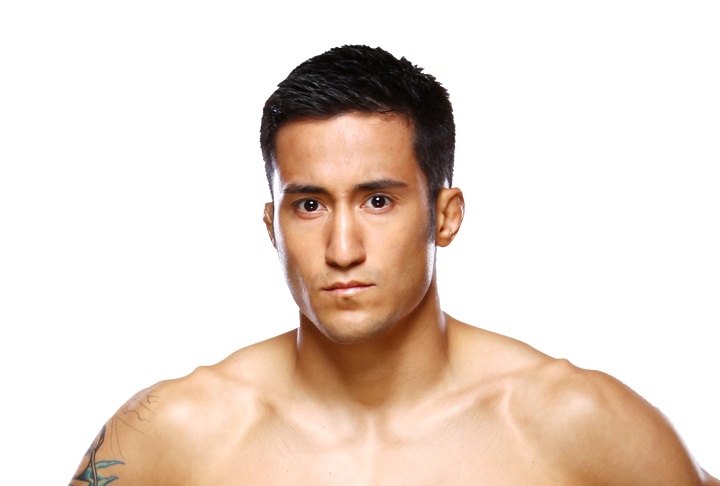
The fight ended by Submission (Arm Triangle) in round 1 at 4:55, so it never went to the judges and no scorecard was rendered. Nothing is missing: an official scorecard only exists where a bout goes the distance or is stopped and scored. PropBetEdge does not estimate, reconstruct or infer scores for a finish.
Fight totals PropSports · whole-fight totals · final
Charles ByrdWhole fightJamie Pickett
0
Knockdowns
0
13/24
Sig. strikes54% · 42%
5/12
18/29
Total strikes
11/21
1/1
Takedowns
2/5
0:00
Control
0:00
1
Reversals
0
Target and position breakdown
Targets
6/13
Head
2/8
2/3
Body
3/4
5/8
Leg
0/0
Position
6/16
Distance
3/10
2/3
Clinch
2/2
5/5
Ground
0/0
Both breakdowns decompose the same significant-strike totals, once by target and once by position, so each adds back to the sig. strikes line above.
Fight totals · PropSports · whole-fight totals ↗ · Whole-fight figures. PropSports · whole-fight totals publishes no per-round split, so these are not round data.
Round-by-Round Analysis
Fight progression reconstructed from verified round-level observations.
Submission · R1 · 4:55
Charles ByrdRound 1Jamie Pickett
13 / 24Sig. strikes5 / 12
54%Accuracy42%
18 / 29Total strikes11 / 21
0Knockdowns0
1 / 1Takedowns2 / 5
1Sub. attempts0
—Control—
2.6Pace / min1.0
—Control share—
Charles Byrd
Targethead 46% · body 15% · leg 38%
Phasedistance 46% · clinch 15% · ground 38%
Jamie Pickett
Targethead 40% · body 60% · leg 0%
Phasedistance 60% · clinch 40% · ground 0%
Fight summary
13Charles Byrd sig. strikes
5Jamie Pickett sig. strikes
1rounds observed
R1
Pace is significant strikes landed per minute of observed round time. A round with no recorded observation is left empty rather than drawn as zero.