Home Events UFC 225: Whittaker vs. Romero 2 Curtis Blaydes vs Alistair Overeem Curtis Blaydes vs Alistair Overeem · UFC 225: Whittaker vs. Romero 2 Heavyweight · 3 rounds · Card
Final Photo:
MMA Zone · CC BY 3.0 · via Wikimedia Commons
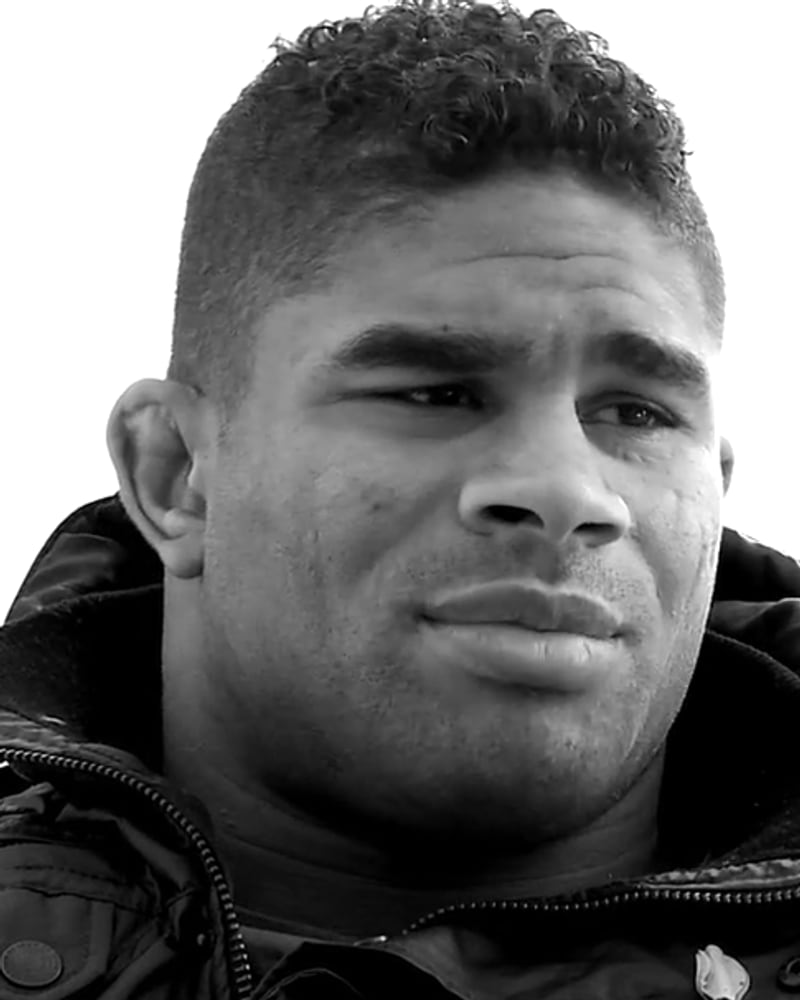
Photo:
THE REEM · CC BY 3.0 · via Wikimedia Commons
UFC CageSide IQ · All Access exclusive The Fight Blueprint before, the verified pulse during, and the Verdict after — did PBE's locked call hold up? Open CageSide IQ → ADVERTISEMENT · PARTNER LINK
Prediction markets on Polymarket Explore UFC and other prediction markets on Polymarket.
PropBetEdge may earn compensation from qualifying Polymarket activity. Compensation does not influence PropBetEdge analysis, picks, rankings or market comparisons. Availability and trading eligibility vary by location. Trading involves risk.
UFC 225: Whittaker vs. Romero 2
Saturday, June 9, 2018 · Chicago · Illinois
Full card → Result Curtis Blaydes def. Alistair Overeem Method KO/TKO (Elbows to Head From Guard) Round · time Round 3 · 2:56 · 3 Rnd (5-5-5) Referee Dan Miragliotta Sig. strikes Curtis Blaydes 37/53 · Alistair Overeem 7/12 · PropSports · round totals Total strikes Curtis Blaydes 62/85 · Alistair Overeem 24/31 Scorecards None — the fight ended by KO/TKO Analysis Round-by-round (3 rounds) Result Curtis Blaydes def. Alistair Overeem
KO/TKO (Elbows to Head From Guard) · Round 3 · 2:56 · 3 Rnd (5-5-5)
Official scorecards —
No official scorecard exists for this fight The fight ended by KO/TKO (Elbows to Head From Guard) in round 3 at 2:56, so it never went to the judges and no scorecard was rendered. Nothing is missing: an official scorecard only exists where a bout goes the distance or is stopped and scored. PropBetEdge does not estimate, reconstruct or infer scores for a finish.
Result source · PropSports round data ↗
Round-by-Round Analysis Fight progression reconstructed from verified round-level observations.
KO/TKO · R3 · 2:56
R1 R2 R3
Curtis Blaydes Round 3 Alistair Overeem
23 / 28 Sig. strikes 2 / 4
82% Accuracy 50%
28 / 34 Total strikes 3 / 5
0 Knockdowns 0
1 / 1 Takedowns 0 / 0
0 Sub. attempts 0
1:57 Control 0:00
7.8 Pace / min 0.7
100% Control share 0%
Curtis Blaydes
Target head 91% · body 9% · leg 0%
Phase distance 13% · clinch 43% · ground 43%
Alistair Overeem
Target head 0% · body 100% · leg 0%
Phase distance 100% · clinch 0% · ground 0%
UFC Pro
Unlock Round Intelligence
Round-over-round signals, statistical edges and this performance measured against each fighter's pre-fight Fight DNA baseline. Round statistics above stay free.
Fight summary
37 Curtis Blaydes sig. strikes
7 Alistair Overeem sig. strikes
3 rounds observed
+1200% largest pace swing, R1 to R2 (Curtis Blaydes)
Pace is significant strikes landed per minute of observed round time. A round with no recorded observation is left empty rather than drawn as zero.
Fight stats 3 rounds · PropSports round stats 37 / 53 Sig. strikes 7 / 12
70% Accuracy 58%
62 / 85 Total strikes 24 / 31
0 Knockdowns 0
4 / 4 Takedowns 0 / 0
0 Sub attempts 2
7:47 Control 0:00
32 Head 3
5 Body 4
0 Leg 0
Curtis Blaydes Alistair Overeem
Round Fighter KD Sig. str. Total TD Sub Ctrl Head Body Leg R1 Curtis Blaydes
Tale of the tape 20-6-0 (1 NC) Record 47-19-0 (1 NC)
27 Age 38
6'4" Height 6'4"
80" Reach 80"
Orthodox Stance Orthodox
4.18 Sig. str./min 3.67
5.12 TD / 15 min 1.42
Curtis Blaydes 14-6 in archive
7 KO/TKO wins
0 Sub wins
50% Finish rate